How to Enable and Use VLC Media Player’s Advanced Audio Options
How to Enable and Use VLC Media Player’s Advanced Audio Options
Introduction
VLC Media Player is one of the most popular media players available, known for its versatility and wide range of features. While many users are familiar with its basic functions, VLC also offers advanced audio options that can enhance your media playback experience. In this article, we will guide you on how to enable and use VLC Media Player’s advanced audio options.
Enabling Advanced Audio Options
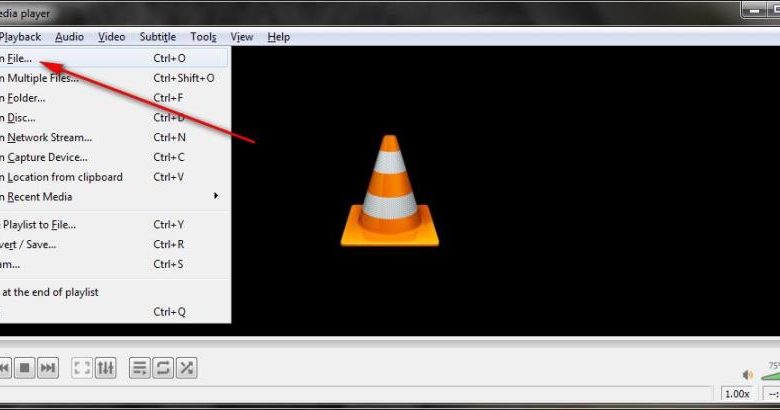
Step 1: Launch VLC Media Player
Open VLC Media Player on your device by double-clicking the application icon.
Step 2: Access VLC Preferences
Click on the “Tools” tab in the top menu bar and select “Preferences” from the drop-down menu.
Step 3: Enable Advanced Options
In the Preferences window, click on the “Audio” tab located on the left side. Check the box next to “Show All” to display VLC’s advanced audio options.
Using Advanced Audio Options
Equalizer
VLC’s Equalizer allows you to adjust the audio frequency bands to customize the sound output. To access the Equalizer, click on the “Equalizer” checkbox in the preferences window. A new window with a graphical interface will appear, allowing you to tweak the frequency bands according to your preference.
Audio Effects and Filters
VLC offers a range of audio effects and filters to enhance your media playback experience. These include spatializer, compressor, karaoke mode, and more. To access these options, click on the “Audio Effects and Filters” checkbox in the preferences window. A new window will appear, allowing you to enable or disable specific effects and filters.
Audio Normalization
The Audio Normalization feature in VLC helps normalize the volume levels of your media files, ensuring consistent audio playback. To enable this option, go to the preferences window and click on the “Audio Normalization” checkbox. Adjust the normalization settings according to your preferences.
Frequently Asked Questions (FAQs)
Q: Can I save my custom audio settings in VLC Media Player?
Yes, you can save your custom audio settings in VLC Media Player. After adjusting the audio options to your preference, click on the “Save” button in the preferences window. This will save your settings, and VLC will remember them for future use.
Q: Are there any pre-set audio profiles in VLC?
Yes, VLC offers pre-set audio profiles, including rock, pop, classical, and more. To access these profiles, go to the Equalizer window (Preferences > Audio > Equalizer), and choose the desired audio profile from the drop-down menu. VLC will automatically adjust the frequency bands based on the selected profile.
Q: Why can’t I find the advanced audio options in VLC?
If you are unable to find the advanced audio options in VLC, make sure you have updated to the latest version of the media player. Older versions may not include these features. Additionally, ensure that you have checked the “Show All” box under the “Audio” tab in the preferences window.
Conclusion
VLC Media Player’s advanced audio options can greatly enhance your media playback experience by allowing you to customize the audio settings according to your preferences. By following the simple steps outlined above, you can enable and use these features in no time. Experiment with different settings and enjoy an optimized audio experience with VLC Media Player.